

Introduction to Repurposing Worn-out Furniture
Old, worn-out furniture often gets discarded or stored away, but with a little creativity and effort, it can be transformed into stylish and functional storage solutions. Repurposing not only extends the life of furniture but also adds unique character to your space, reduces waste, and can save money. The key is to approach the task with a clear plan and some basic DIY skills.
According to industry statistics, approximately 12 million tons of furniture are discarded annually in the United States alone. Repurposing furniture is a sustainable choice that minimizes environmental impact while providing customized storage options. Whether you’re dealing with an old dresser, ladder, or cabinet, there are countless ways to breathe new life into these pieces while enhancing your home’s organization and style.
Assessing and Preparing Your Worn-out Furniture
Before diving into a project, evaluate your furniture’s condition. Check for structural stability, damages, or missing parts. Not all furniture is salvageable, but many deserve a second chance with some repair work.
Cleaning thoroughly and removing any dust, dirt, or old paint is essential. Sanding is often necessary to smooth rough surfaces and prepare the piece for repainting or staining. Use appropriate tools like orbital sanders for larger surfaces and hand sanders for detailed areas.
It’s advisable to plan your project by considering the furniture’s size, shape, and potential用途. For example, a sturdy old cabinet can become a shoe storage bench, while a worn-out dresser can turn into a chic bathroom cabinet.
Creative Ideas for Repurposing Furniture into Storage Solutions
Transforming a Dresser into a Kitchen or Closet Storage Unit
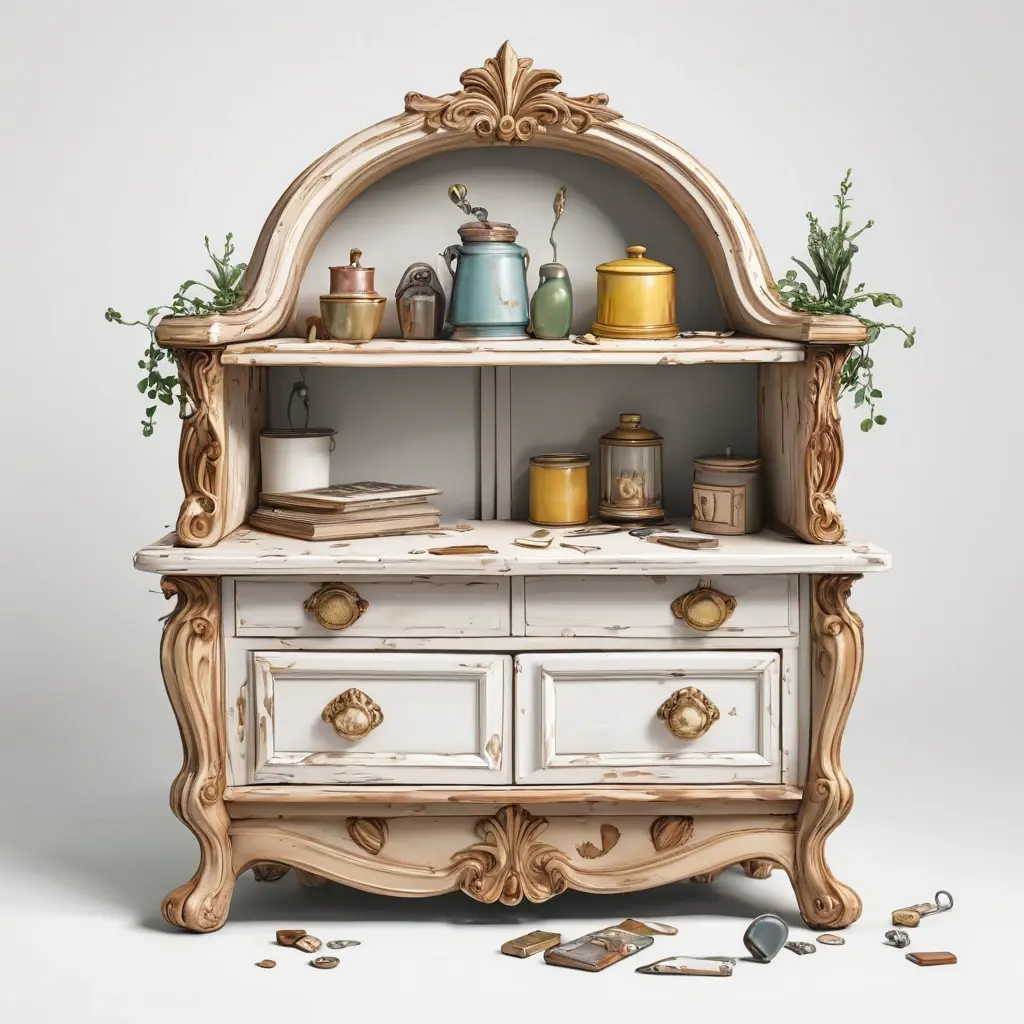
An old dresser can be repurposed into a stylish storage solution with a few modifications. Remove or replace the top drawers for open shelving, perfect for displaying dishes or folded clothes. Painting or refinishing the drawer fronts adds a fresh look, and adding new hardware can elevate the piece’s style.
Add dividers, baskets, or pull-out trays inside the remaining drawers to organize small items effectively. Incorporate a countertop or a cushion on top to create a seating area or a decorative display space.
Converting a Wardrobe or Armoire into a Craft or Tool Station
Old wardrobes are versatile for creating dedicated craft or workshop stations. Remove internal doors and shelves, then install pegboards, hooks, or small shelves for tools, paints, or craft supplies. Use bins or baskets for sorted storage.
Painting or stenciling the exterior can give the piece a modern look that complements your decor. Consider adding wheels for mobility, especially if you plan to move the station around your home or garage.
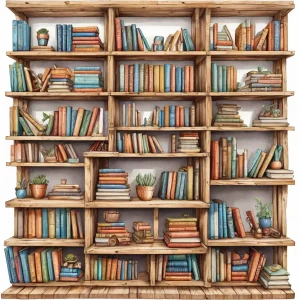
Repurposing an Old Ladder into a Rustic Shelving Unit or Bookshelf
Ladders, especially wooden ones, are excellent for creating rustic shelves. Lean the ladder against a wall and secure it if necessary. Attach planks or boards on the steps to create shelves for books, plants, or decorative items.
For a more polished look, sand and stain or paint the ladder before adding the shelves. This method works well in living rooms, kitchens, or bedrooms, adding instant charm and space for storage.
Turning an Old Coffee Table or Side Table into a Hidden Storage Chest
Many coffee or side tables can be modified to include hidden compartments. Remove the tabletop and replace it with a hinged lid or lift-top design. Use sturdy hinges and interior lining to protect stored items from dust.
This design is perfect for storing remote controls, magazines, or small valuables, keeping your space tidy while maintaining an attractive look. Choose a paint or finish that matches your existing decor for a cohesive style.
Tips and Tricks for a Successful Repurposing Project
- Choose the right tools: Invest in good quality sanders, paintbrushes, and fasteners for professional-looking results.
- Use durable paint and finishes: Especially for furniture that will see frequent use or involve contact with water, like bathroom cabinets.
- Plan your layout: Sketch ideas before starting to visualize the final piece and avoid costly mistakes.
- Safety first: Always wear protective gear, especially when sanding or using chemicals.
Author’s advice: Don’t be afraid to experiment with color and hardware. Sometimes a bold paint job and vintage handles make a simple piece stand out as a focal point in your home.
Benefits of Repurposing Furniture
Repurposing worn-out furniture offers numerous advantages. It reduces waste and environmental impact by reusing materials instead of discarding them. Additionally, custom-made storage solutions can be tailored to fit your specific space and style preferences, unlike generic furniture bought from stores.
Furthermore, engaging in DIY furniture projects can be highly rewarding and cost-effective. For example, transforming an old cabinet into a linen storage unit may cost a fraction of buying new furniture and still result in a high-quality, attractive piece.
Maintaining Your Repurposed Furniture
Proper maintenance extends the life of your DIY repurposed pieces. Regularly dust and clean the surfaces with suitable cleaners. Use coasters and pads under items to prevent scratches or water damage. Repaint or reseal surfaces periodically to keep the piece looking fresh.
Avoid overloading shelves or drawers to prevent structural damage. If concerns about stability arise over time, reinforce joints or add internal supports.
Conclusion
Repurposing worn-out furniture into stylish and functional storage solutions is an innovative way to decorate your home sustainably. With a bit of creativity, patience, and effort, you can transform tired pieces into stunning features that serve a practical purpose. Embrace the challenge and enjoy the satisfaction of giving old furniture a new lease on life—an eco-friendly and personalized approach to interior design. Remember, every piece has potential; all it takes is vision and some elbow grease to turn trash into treasure.
Q1: What tools do I need to start repurposing old furniture?
A1: Basic tools such as a sander, paintbrushes, screws, hinges, a drill, and protective gear like gloves and masks are essential. The specific tools depend on your project but starting with these will cover most DIY needs.
Q2: How can I ensure that my repurposed furniture is durable enough for everyday use?
A2: Choose high-quality paints and finishes suitable for furniture, reinforce joints and supports if necessary, and avoid overloading shelves or drawers to prevent damage. Regular maintenance also prolongs lifespan.
Q3: Are there eco-friendly paints and finishes recommended for furniture projects?
A3: Yes, look for low-VOC or zero-VOC paints and natural oils or waxes. These are less harmful to the environment and create healthier indoor air quality.
Q4: Can I repurpose furniture without experience in DIY?
A4: Absolutely. Start with small, simple projects. Plenty of tutorials and guides are available online to help beginners learn basic techniques safely and effectively.
Q5: How do I choose the right piece of furniture to repurpose?
A5: Select furniture that is structurally sound, with sturdy frames and joints. Consider its size, shape, and your intended use. Pieces with interesting details or vintage charm often yield unique, attractive results.