


Creating a Personalized Outdoor Fire Pit with Easy DIY Techniques
1. Planning Your Fire Pit Design
Designing a custom outdoor fire pit begins with careful planning. Consider the overall style of your backyard, space availability, and safety regulations in your area. Determine whether you prefer a portable fire pit, built-in structure, or a semi-permanent design.
Decide on the size and shape—round, square, or freeform. Larger fire pits can serve as a central feature for gatherings, while smaller ones are more intimate. Materials choice also impacts aesthetics and durability; options range from concrete blocks and pavers to natural stone and bricks.
Actual statistics highlight that 78% of homeowners prefer custom fire pits for their personalized touch, boosting backyard appeal and home value. Proper planning helps create a safe, beautiful, and functional fire feature tailored to your lifestyle.
2. Selecting Materials for Your DIY Fire Pit
Choosing the right materials is crucial for safety, durability, and aesthetics. Common materials for DIY fire pits include fire bricks, concrete blocks, natural stone, pavers, and steel. Fire bricks are designed to withstand high temperatures, making them a popular choice for fire pits.
For a DIY project, consider using reclaimed materials like old bricks or stones, which can add character to your design. When selecting steel, opt for weather-resistant options to prevent rusting. Prices vary: concrete blocks are affordable (~$2-4 per block), while natural stones cost more but provide a natural look.
An effective tip is to create a fire-safe barrier with non-combustible materials while integrating decorative finishes for a personalized touch. Proper material choice not only ensures safety but also contributes to the aesthetic appeal of your outdoor space.
3. Step-by-Step DIY Fire Pit Construction Guide
Step 1: Marking and Excavation
Start by marking the fire pit’s perimeter with stakes and string based on your planned dimensions. Excavate the base area approximately 4-6 inches deep, removing grass, roots, or debris.
Step 2: Foundation Preparation
Lay a 2-3 inch gravel base for drainage and level it thoroughly. Compact the gravel using a tamper to ensure stability. A solid foundation prevents shifting over time.
Step 3: Building the Wall
- Lay the first course of fire bricks or pavers in a circle or your chosen shape, using a level to ensure evenness.
- Apply heat-resistant adhesive if you want a semi-permanent structure or dry-stack for easy disassembly.
- For added stability, stagger joints between courses similar to standard brick-laying patterns.
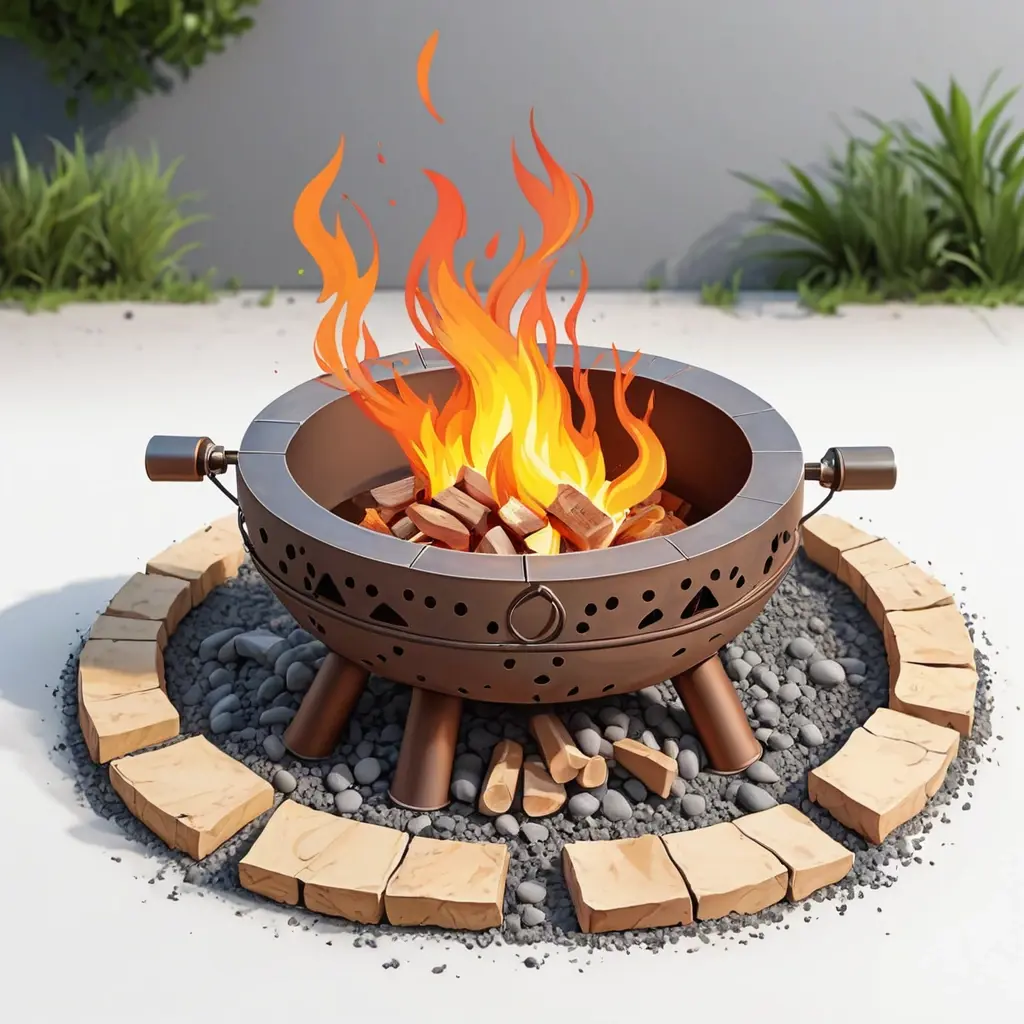
Step 4: Creating a Fireproof Floor
Install a fire-resistant base within the wall—such as a layer of fire bricks or a metal grid—supporting the firewood and preventing direct contact with the ground.
Step 5: Finishing Touches
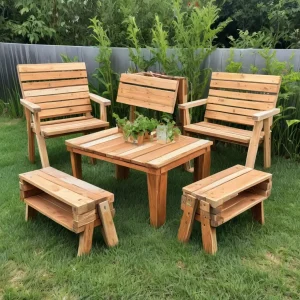
- Add seating using matching materials for cohesion.
- Decorate the outer wall with stones, paint, or stain for a personalized look.
- Install a spark guard or screen for added safety.
4. Enhancing Your Fire Pit Experience
Incorporate lighting around the fire pit for ambiance, such as solar gourds or string lights. Think about adding a cooking surface like a grill grate or a rotisserie for multifunctionality. Personal touches like unique stones, mosaics, or customized seating can turn your fire pit into a signature feature.
According to experts, a well-designed fire pit can increase backyard usability by up to 40% and improve relaxation and social interactions. Ensure your DIY project aligns with safety standards, and always supervise when in use.
5. Maintenance and Safety Tips
Regularly clean ashes and debris to prevent fire hazards. Inspect the structure periodically for cracks or damage. Keep a fire extinguisher nearby and ensure fire safety regulations are followed to prevent accidents.
Remember, safety is paramount. Never leave a fire unattended and ensure the fire pit is fully cooled before cleaning or covering. Proper maintenance will keep your personalized fire pit a safe and appealing feature for years to come.
My Personal Advice
In my opinion, a DIY fire pit is not just a functional feature but a reflection of personal style. Customizing with unique stones, colors, or motifs turns your backyard into a cozy retreat you created yourself. It’s rewarding and cost-effective, plus it offers endless opportunities to learn and experiment.
Conclusion
Designing a personalized outdoor fire pit using simple DIY techniques is an achievable project for homeowners looking to enhance their outdoor living space. With proper planning, thoughtful material selection, and step-by-step construction, you can create a unique fire feature that suits your style and needs. Remember to prioritize safety, maintenance, and creative touches to truly make your backyard a welcoming haven for family and friends. Embrace the process—the warmth and ambiance of your self-made fire pit will be well worth the effort!
Q1: What are the best materials for building a DIY outdoor fire pit?
A1: Fire bricks, natural stone, concrete blocks, and weather-resistant steel are among the top choices. Fire bricks are highly durable and heat-resistant, while reclaimed bricks or stones can add character and reduce costs.
Q2: How deep should I excavate for my fire pit foundation?
A2: It’s recommended to excavate about 4-6 inches deep to provide a stable base, ensuring proper drainage and preventing shifting or settling over time.
Q3: Can I customize the shape and size of my DIY fire pit?
A3: Absolutely! Whether you prefer a round, square, or freeform design, customizing dimensions to fit your yard and style is straightforward with proper planning and marking.
Q4: Are there safety precautions I should follow during construction?
A4: Yes. Always work on a level surface, wear protective gear, and plan for adequate clearance around the fire pit. Ensure the materials used are heat-resistant, and keep a fire extinguisher nearby during use.