Unlocking Creativity: How to Create Personalized Halloween Decorations on a Budget
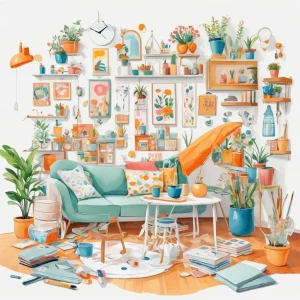
Supplies You Need for Your DIY Halloween Decorations
Before diving into crafting, gather your materials. You’ll want items that are inexpensive, readily available, and versatile. Common supplies include cardboard boxes, old newspapers, cloth scraps, string lights, paint, markers, glue, scissors, and some recyclables like jars or bottles. You can also repurpose household items to maximize savings and environmental friendliness.
Shopping at dollar stores or thrift shops can significantly cut costs, providing you with colorful fabrics, decorative elements, and even plastic skeletons or pumpkins. Remember, the key to budget-friendly decorating is creativity and resourcefulness—think outside the box and utilize what you already have!
Step-by-Step Instructions for Creating Personalized Decorations
Step 1: Brainstorm Your Theme and Design Ideas
Start with a theme that excites you—whether it’s spooky, funny, gothic, or whimsical. Sketch out ideas or list specific items like personalized banners, ghostly figures, or creepy signs. Personal touches—such as family names or favorite horror characters—add special charm.
Step 2: Make Custom Banners and Signs
Use scrap fabric or cardboards to create banners. Cut into shapes and paint or write messages like “Happy Haunted Halloween” or “Beware of Ghosts.” Hang these on walls or across doorways. For an extra touch, incorporate photos or drawings to make them unique.
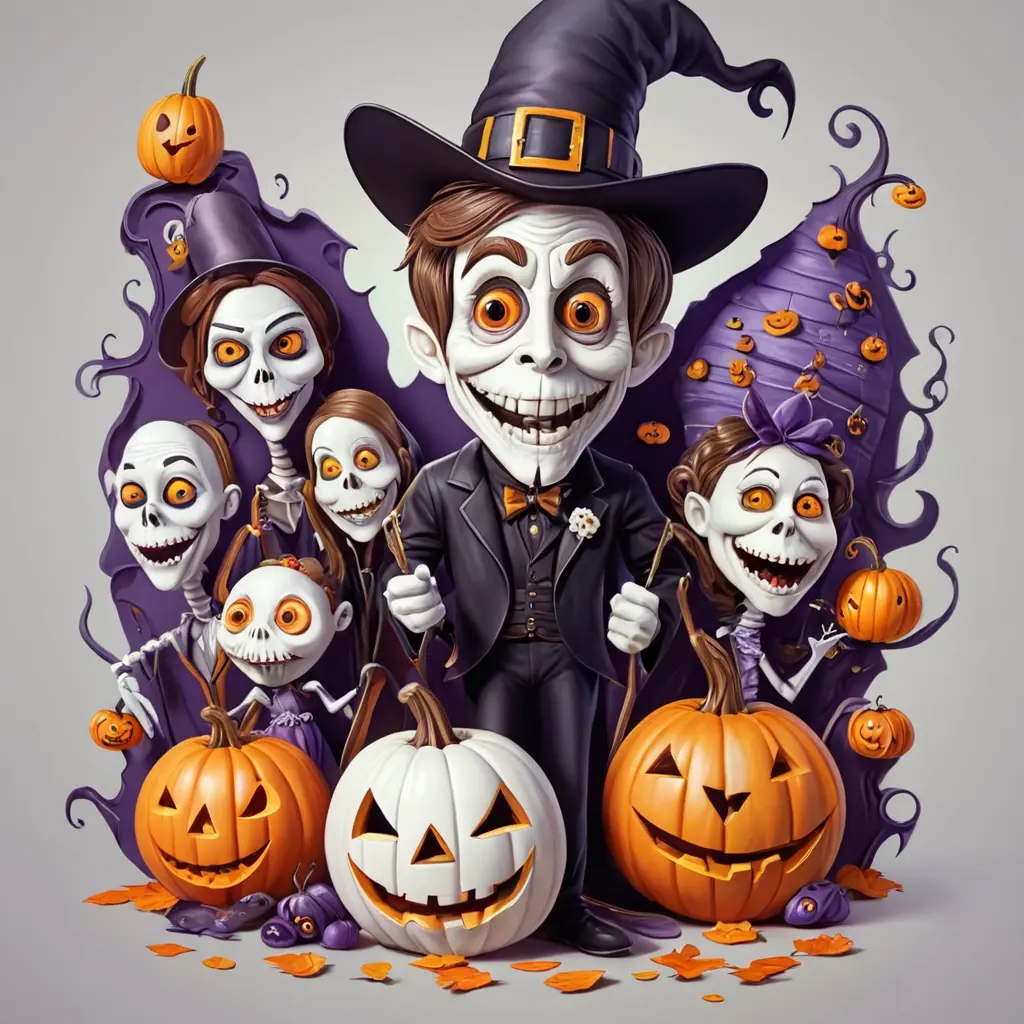
Step 3: Craft Personalized Ghosts and Pumpkins
Transform old white shirts or pillowcases into ghostly figures by stuffing them with crumpled newspaper or fabric scraps, tying off the ends. Draw cute or spooky faces with markers. Use orange paper or fabric to create pumpkins, adding personal expressions or faces for a fun twist.
Step 4: Create Halloween-Themed Centerpieces
Use jars, bottles, or bowls as bases. Fill them with mini candies, guts (gelatin or red jellies), or glow sticks for an eerie effect. Decorate the rims with fabric, leaves, or spider webbing to match your theme. Personalize each centerpiece with labels or photos.
Step 5: Add Lighting for Atmosphere
String lights, LEDs, or candles—even LED tealights—create an enchanting, spooky ambiance. Wrap lights around your homemade decorations or hide them behind curtains or faux cobwebs. For safety, use battery-operated lights around paper or fabric elements.
Cost-Effective Tips and Tricks
- Reuse and repurpose: Old clothes, fabric scraps, and household items can become decorations or materials for your crafts.
- Personalize with simple markers or paint: Names, faces, or messages make decorations stand out without extra expense.
- DIY over buying ready-made: Handmade decorations often look more personal and save money.
Advanced Ideas: Incorporate Technology Safely
Use inexpensive motion-activated sound devices or small speakers hidden behind decorations for authentic spooky sounds. Incorporate battery-operated blinking eyes or projections to add movement without costly machinery. Remember to prioritize safety when using electrical components.
Author’s Opinion: Why DIY Personalization Matters
With Halloween decorations, personalization truly elevates the atmosphere. It’s not just about spooky things, but creating a memorable experience for friends and family. Plus, DIY decorations foster creativity and are eco-friendly. My advice: start early, plan simple projects, and enjoy the process of making your holiday uniquely yours.
Conclusion
Decorating for Halloween doesn’t have to be expensive or complicated. By repurposing household items, adding personal touches, and following simple steps, you can create a stunning, personalized haunted house on a budget. Remember, the most memorable decorations are often the ones that carry your own personality and creativity. Embrace the DIY spirit and turn your home into a spooky masterpiece without breaking the bank!
Q_A_BLOCK
Q1: How can I make my Halloween decorations more personalized without spending much?
A1: Use household items like fabric scraps, recyclables, and photos. Hand-paint or write messages on DIY banners and signs. Adding personal photos or themes makes decorations unique and meaningful.
Q2: What are some cheap materials I can use for spooky decorations?
A2: Old clothes, paper, plastic bottles, jars, and leftover fabric are inexpensive options. You can also find decorations at dollar stores or repurpose items like string lights, cardboard, and natural materials like leaves and branches.
Q3: How can I ensure safety when adding lights and electrical features to my decorations?
A3: Use battery-operated LED lights for safety and convenience. Keep electrical components away from water or flammable materials. Always supervise children around electrical decorations and turn them off when not in use.
Q4: Are there any trending DIY Halloween decoration ideas I can try?
A4: Popular trends include ghostly jars with LED lights, personalized cutout silhouettes, fabric haunted banners, and interactive decorations with sound effects. Incorporating photos or names makes your décor stand out even more.
Q5: How early should I start decorating for Halloween on a budget?
A5: Start planning and crafting at least 2-3 weeks before Halloween. This allows ample time to gather supplies, complete projects, and add finishing touches while avoiding last-minute costs or stress.