

Designing the Perfect Self-Watering Garden Planter
Creating a self-watering garden planter begins with understanding its basic components and how they work harmoniously to provide consistent hydration to your plants. The goal is to develop a system that reduces watering frequency, conserves water, and promotes healthy plant growth with minimal effort.
At its core, a self-watering planter typically consists of a water reservoir, a wicking or drainage system, and the planting medium. Proper design ensures optimum water distribution while preventing overwatering and root rot. Planning your planter’s size and shape according to your available space and plant types is crucial for successful implementation.
Key Components of a Self-Watering Planter
- Water Reservoir: This is the storage tank that holds excess water. It can be made from plastic, ceramic, or other waterproof materials, sized based on your plant volume and watering needs.
- Wicking System: Typically made of materials like cotton or nylon rope, it transports water from the reservoir up to the soil, maintaining consistent moisture levels.
- Growing Medium: A well-draining, nutrient-rich soil that supports plant roots while facilitating water movement.
- Delivery Mechanism: An interface that controls water flow and prevents overflow, such as a float valve or a perforated cover.
Building Your Self-Watering Planter Step-by-Step
Constructing a self-watering planter can be a rewarding DIY project. Here’s a step-by-step guide to help you get started, whether you opt for a traditional container or a customized design.
Step 1: Select and Prepare the Container
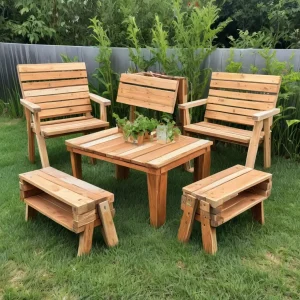
Choose a durable container—wooden, plastic, ceramic, or repurposed items like old buckets or buckets. Ensure it has adequate depth for root growth and drainage holes at the bottom to prevent waterlogging.
For added resilience, drill extra holes at the bottom for drainage and ventilation, especially if your container lacks existing drainage features.
Step 2: Create the Water Reservoir
The reservoir can be placed at the bottom of the container or underneath, depending on your design. Ensure it has enough capacity for your plant’s watering requirements—generally, a reservoir that can hold at least one week’s worth of water.
You can isolate the water chamber with a screen or barrier to prevent soil from flooding the reservoir while allowing water to seep into the soil via the wicking system.
Step 3: Install the Wicking System
Cut a length of cotton cord, nylon rope, or specialized wicking material to reach from the water reservoir up into the soil. Place it so that one end is immersed in the water, and the other end extends into the planting medium.
Secure the wick at the reservoir’s bottom, possibly by tying or anchoring it, and lay it across the soil surface so water can be drawn upward by capillary action.
Step 4: Add Planting Soil and Plants
Fill the container with nutrient-rich, well-draining soil. Plant your chosen greenery—vegetables, herbs, or flowers. Ensure the soil level covers the wick, but leaves space for watering and plant roots.
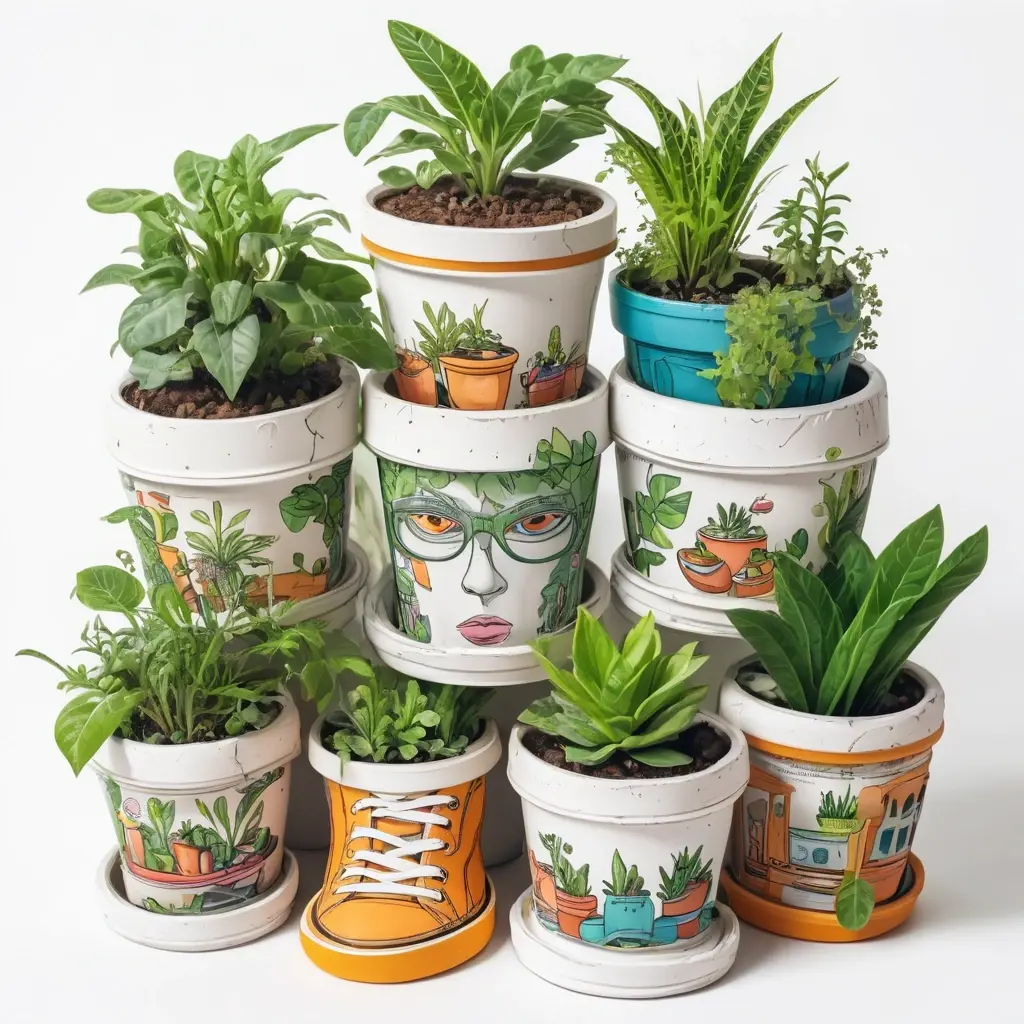
My advice: For low-maintenance green spaces, select hardy plants like succulents, herbs, or native perennials that require less frequent watering and are adaptable to your climate.
Maintaining and Optimizing Your Self-Watering Planter
While self-watering planters significantly reduce the need for daily watering, some maintenance is essential for optimal plant health. Regularly check water levels in the reservoir, especially during hot or windy weather when evaporation increases.
Cleaning the reservoir periodically prevents algae buildup and prevents blockages in the wicking system. Replacing worn wicks or adjusting plant placement can also improve water distribution. Monitoring plant health and adjusting fertilizer inputs accordingly ensures your green space remains lush and vibrant.
Benefits of Self-Watering Planters
| Benefit | Description |
|---|---|
| Water Conservation | Reduces water wastage by recycling excess water and providing consistent moisture directly to roots. |
| Low Maintenance | Minimal daily care, ideal for busy or less experienced gardeners. |
| Healthier Plants | Prevents overwatering and drought stress, leading to stronger plant growth. |
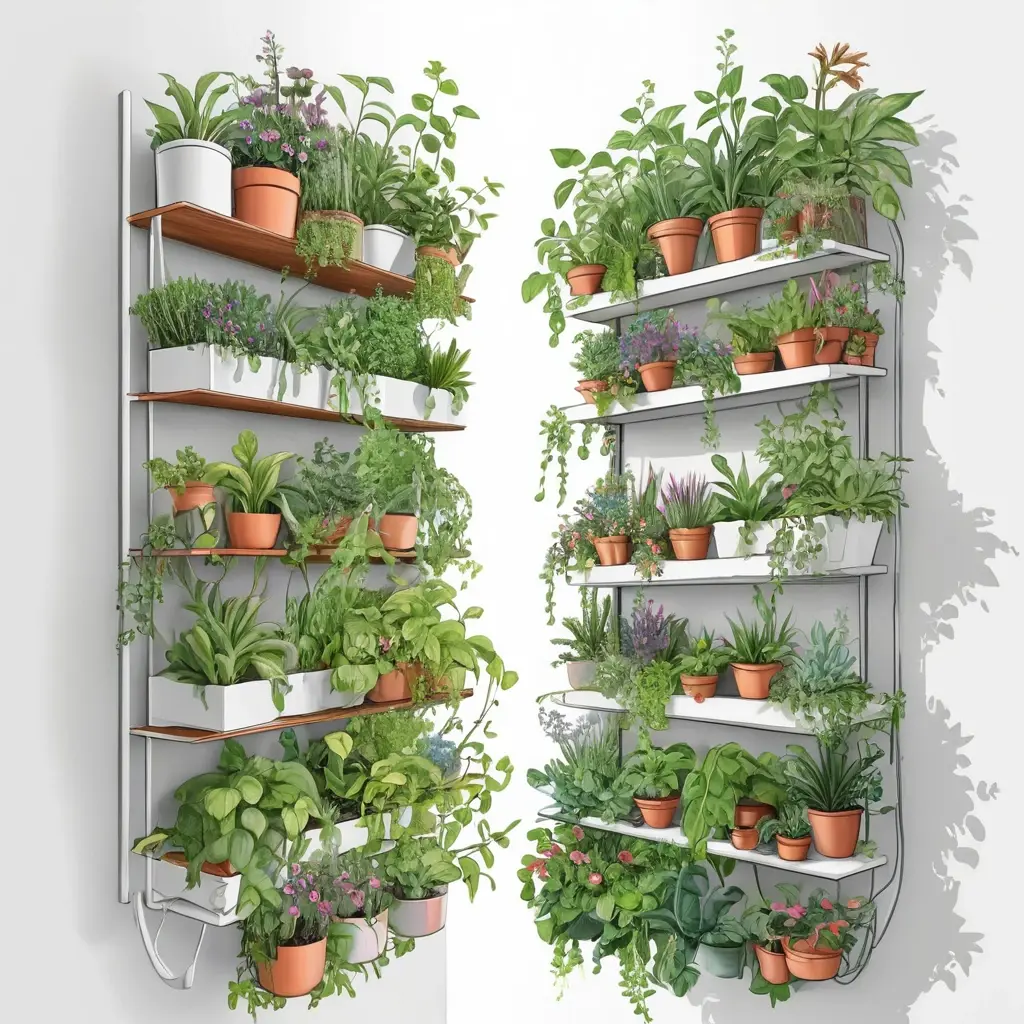
| Space Efficiency | Suitable for small patios, balconies, or indoor gardening setups. |
Expert Advice and Final Thoughts
In my opinion, investing time in designing a reliable self-watering system saves hours of watering and helps cultivate a thriving, eco-friendly garden. Tailor your design to your specific plants’ needs and environmental conditions for best results.
Creating a self-watering planter is an innovative and practical way to enjoy a low-maintenance green space. With the right planning, materials, and care, you can transform any small area into a lush, vibrant garden that requires less effort and water. Whether you’re a seasoned gardener or a beginner, these planters can elevate your gardening experience and contribute to a greener lifestyle. Happy gardening!
Q&A Section
1. How often should I refill the water reservoir in my self-watering planter?
It depends on the size of the reservoir, the number and type of plants, and environmental conditions. On average, most reservoirs need refilling every 5 to 7 days. Regularly check water levels, especially during hot weather, to ensure your plants have consistent moisture.
2. Can I use any type of soil in a self-watering planter?
No, it’s best to use a well-draining, nutrient-rich soil suitable for your specific plants. Using heavy or poorly draining soil can clog the wicking system and cause root rot. Consider a mix designed for container or indoor plants.
3. What plants are best suited for self-watering planters?
Hardy plants like herbs (basil, mint), succulents, lettuce, and native perennials thrive in self-watering systems. Avoid plants with extensive root systems or high water requirements that may outpace the system’s capacity.
4. How can I prevent algae and mosquito breeding in my water reservoir?
Use opaque containers to block light and prevent algae growth. Regularly clean the reservoir, and consider adding a few drops of natural algae inhibitors or floating duckweed as a barrier. Drain and refill the water every few weeks to prevent mosquito eggs from hatching.
5. Is it possible to automate water refilling for larger self-watering systems?
Yes, you can connect your reservoir to a drip irrigation system or install a float valve linked to a water line, automating the refilling process. This setup is ideal for large-scale or outdoor gardens but requires additional equipment and plumbing skills.