

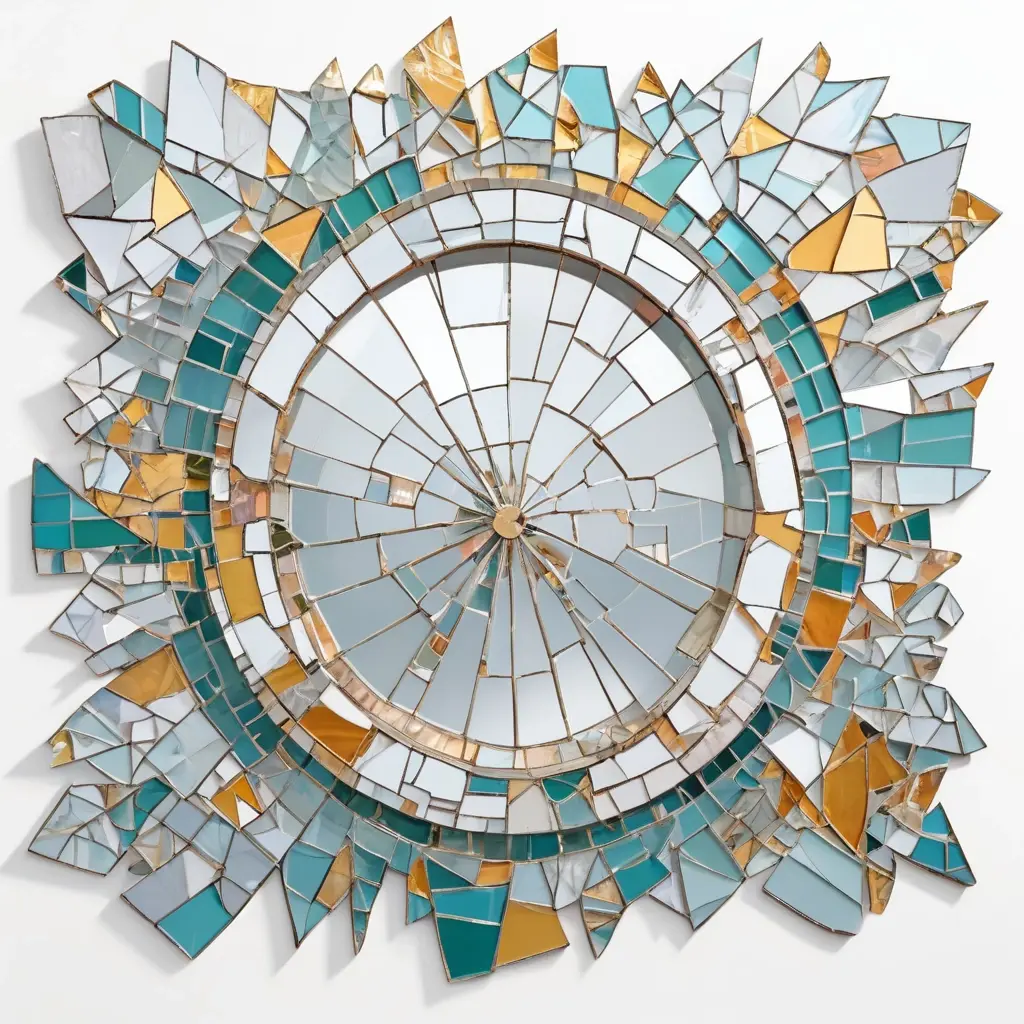
Turning Broken Mirror Pieces into Beautiful Wall Mosaics
Breaking a mirror can initially seem like a frustrating accident, but it also opens the door to a world of creative possibilities. Repurposing these shards into mosaic art not only gives new life to broken glass but also transforms your walls into mesmerizing focal points. With a little patience and some artistic flair, you can craft stunning mosaics that reflect your personal style and add depth to your interior decor.
Why Use Broken Mirror Pieces for Wall Art?
Broken mirror pieces are an eco-friendly, cost-effective, and innovative material for creating art. Unlike new tiles or glass, these shards offer unpredictable shapes and reflective qualities that lend a unique character to your installation. The reflective surfaces can play with light and create dynamic visual effects, making your walls come alive with shimmering textures.
Statistics show that up to 85% of homeowners prefer personalized art pieces over mass-produced decor, and mosaic art with mirror fragments is increasingly popular because it combines artistry with sustainability. Moreover, repurposing broken mirrors aligns with eco-conscious lifestyles by reducing waste and promoting recycling.
Gathering Your Materials and Tools
Essential Materials
- Broken mirror shards
- Backing board (plywood, MDF, or canvas)
- Construction adhesive or mirror adhesive
- Grout (colored or clear)
- Sealers and finishes
- Optional: decorative elements (beads, stones, paint)
Tools Needed
- Safety gloves and goggles
- Pliers for shaping and handling glass
- Tile nippers or cutters (for resizing shards)
- Trowel or spatula
- Paintbrushes for sealing
- Level and measuring tape
Designing Your Mosaic Artwork
Before starting, decide on the overall theme or pattern for your mosaic. Whether you prefer abstract designs, natural motifs, geometric shapes, or custom portraits, sketching your design on paper helps visualize the final outcome. Layering different sizes and shapes of mirror shards creates depth and interest, so plan your layout accordingly.
It’s advisable to lay out the shards on your backing surface without adhesive first. This allows you to experiment with placement, colors, and overall composition, ensuring the mosaic aligns with your aesthetic goals. Remember, embracing the unpredictable nature of broken glass can result in organic, visually captivating patterns that reflect spontaneity and artistic freedom.
Preparing and Assembling the Mosaic
Step 1: Safety First
Always wear protective gloves and goggles to avoid cuts from sharp edges. Clear your workspace and handle shards with care. If necessary, use pliers and tile nippers to trim or reshape shards to fit your design.
Step 2: Applying the Backing
Secure your chosen backing surface onto a stable surface. If you plan to hang your mosaic, ensure it has a sturdy mounting system attached beforehand.
Step 3: Attaching the Shards
Using a strong adhesive, start affixing the shards according to your layout. Work from one corner outward or follow your design plan systematically. Press each piece firmly into place and allow sufficient drying time as per the adhesive instructions.
Grouting Your Mosaic
Once all pieces are glued and fully dried, apply grout to fill the gaps between shards. Choose a grout color that complements or contrasts with your mirror shards for a dramatic effect. Use a spatula to press grout into the seams and wipe away excess with a damp sponge, cleaning the surface of the mirror pieces carefully. After curing, sealing the mosaic with a protective sealer enhances durability and preserves the mirror’s shine.
Creative Ideas to Elevate Your Mirror Mosaic
- Color accents: Incorporate colored grout or paint details for personalized touches.
- Mixed media: Add beads, stones, or painted elements for texture and visual interest.
- Theme-based design: Create floral patterns, celestial scenes, or abstract art based on your decor style.
Tips and Expert Advice
My opinion: When working with broken mirror shards, patience is key. Embrace the randomness and let the shards guide your creativity. The result will be a one-of-a-kind masterpiece that adds both sparkle and depth to your walls.
Maintaining Your Mirror Mosaic Wall Art
Once completed, regular dusting and occasional gentle cleaning with a damp cloth will keep the mosaic vibrant. Avoid harsh chemicals that could damage the reflective surface. Should any shard become loose over time, carefully re-adhere it with a suitable glass adhesive to maintain the integrity of your artwork.
Conclusion
Turning broken mirror pieces into mosaic art is a rewarding project that combines creativity with sustainability. It allows you to recycle and upcycle while producing a striking visual feature for your home. Whether you’re a seasoned artist or a DIY beginner, creating your own mirror mosaic wall piece is an inspiring way to showcase your artistry and give new purpose to something once considered broken. So gather your shards, trust your instincts, and start designing your dazzling wall masterpiece today!
Q_A_BLOCK
Q1: Are broken mirror shards safe to handle for mosaic art?
A1: Yes, provided you wear protective gloves and goggles. Handling shards carefully and trimming edges with pliers or nippers minimizes the risk of cuts.
Q2: What type of adhesive is best for sticking mirror shards to a backing?
A2: A strong, clear-drying mirror or construction adhesive is recommended. Ensure it is waterproof and suitable for glass to achieve a durable bond.
Q3: How do I clean and maintain my mirror mosaic wall art?
A3: Regular dusting with a soft cloth and occasional cleaning with a damp, non-abrasive cloth keeps it looking its best. Avoid harsh chemicals that could damage the reflective surface.
Q4: Can I incorporate other materials besides mirror shards in my mosaic?
A4: Absolutely! Mixing in beads, stones, paint, or other decorative elements can add texture, color, and dimension to your mosaic artwork, making it uniquely yours.
Q5: Is it necessary to seal the mosaic after completion?
A5: Sealing with a waterproof sealant protects the mosaic from moisture, dirt, and fading, especially if it’s located in humid areas or outdoors.